

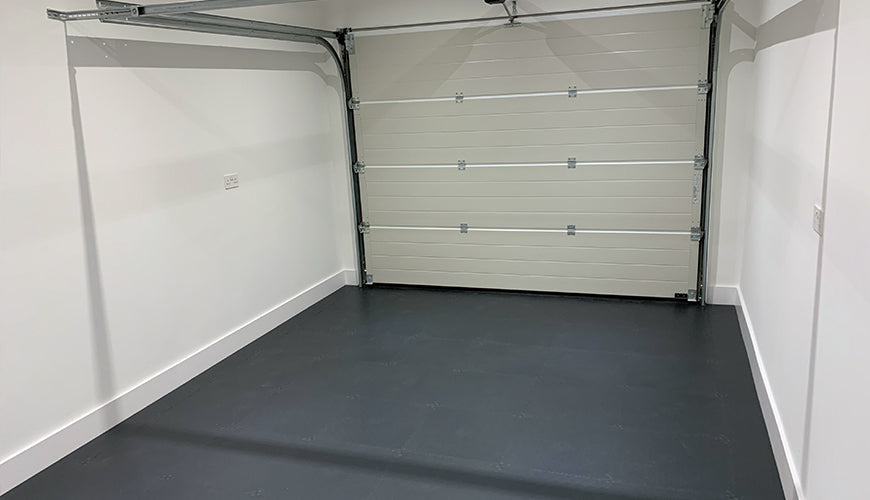

As I've said in my recent Google review, we are really pleased with our new garage floor. Although our house is only 3 years old, the painted floor has always been problematic. Not only is it cold in the winter, but moist air at the door end has led to the paint peeling in a few areas. We partly resolved this by installing 4 massive rubber mats, which looked great. However, they didn't quite cover the whole floor area, they moved around a bit under the car wheels when we parked, and they added to the peeling paint issue because of the condensation that formed beneath them.
After a fair amount of research and having received samples from a number of companies, it was clear that The Garage Floor Tile Company had the best balance of specification, quality and price for this sort of solution. James was very responsive and really helpful in answering a few questions I had, so I took the plunge. As a mediocre DIYer, my only real concern was whether I would be able to cut the 7mm tiles without having to invest in power tools that I don't have. So I decided that I would at least try to do this using the utility knife / concave blade method, falling back on power tools as a final option if necessary.
Having already repainted the walls and skirting, I was raring to go when the tiles arrived (in super quick time), but I resisted the urge and let them acclimatise to the temperature in the garage for 24 hours as advised. The following morning I started by marking a centre line down the middle of the garage using the door opening measurement rather than the overall garage width because I could see that the door was not dead-centre. This meant that I could lay the ramp tiles really neatly along the opening and work backwards from there. The edge tiles along either side of the garage walls would be then be cut to the appropriate size as the last part of the process.
I was conscious that it's good practice to leave a 5mm gap between the edge of the tiles and the wall or skirting, so I decided to lay a continuous strip of good quality black duct tape on the concrete floor along each perimeter edge. This means that with the finished floor it's virtually impossible to see that gap, and it looks really neat.

It only took a few hours to lay all of the 'whole' tiles working from front to back and making sure to follow the centre line I had marked. I then started to tackle the dreaded cuts! I can't pretend it was super easy, but over the course of a few hours I managed to cut about 35 tiles without any errors at all. My 'top tips' to anybody taking this on would be:

{"one"=>"Select 2 or 3 items to compare", "other"=>"{{ count }} of 3 items selected"}